How to Make a T-Shirt Quilt
How is a T-Shirt Quilt Different from a Memory Quilt?
What is a T-Shirt Quilt
A t-shirt quilt is usually made primarily of you guessed it, t-shirts! Think about the old t-shirts in the back of your closet or the closet of someone in your life. These shirts bring back memories of the times the shirts were worn. A t-shirt quilt is a great way to preserve those memories in a beautiful, comforting, and cozy quilt.
What is a Memory Quilt
The term “memory quilt” is usually used when other items such as miscellaneous clothing, baby clothes, and photographs printed on fabric are included. A memory quilt is also sometimes made of clothing from a lost loved one to commemorate their lives and comfort family members. The term “memory quilt” is often used to describe quilts made to preserve memories in someone’s life.
Check Out these Videos for More Information
To help explain each of these terms in more detail, see our YouTube Videos Part 1 and 2.
How to Make a T-Shirt Quilt or Memory Quilt: Part 1
How to a Make T-Shirt Quilt or Memory Quilt: Part 2
Three Styles of a Memory Quilt or T-shirt Quilt:
Collage Style Quilt

A Collage style quilts include:
- Logos in various sizes. Using different sized logos allows you to incorporate logos from all the shirt areas, including the sleeve. You may also use the pocket portion of a t-shirt.
- Baby clothing items. You may applique these times to a square block in the quilt.
- Blocks with no logos to finish out the collage style quilt. These blocks can be made of solid t-shirt squares and cotton fabric.
Using baby clothing or photographs in a collage style quilt blurs the line between a t-shirt quilt and a memory quilt.
The great thing about making your version of a memory quilt is that you may include anything that brings meaning to the final quilt.
Remember that there is no memory or t-shirt quilt police to tell you how to design your quilt.
If the item can be sewn and laundered, you may include it in your quilt.
Block Style Quilt with Borders or Sashing
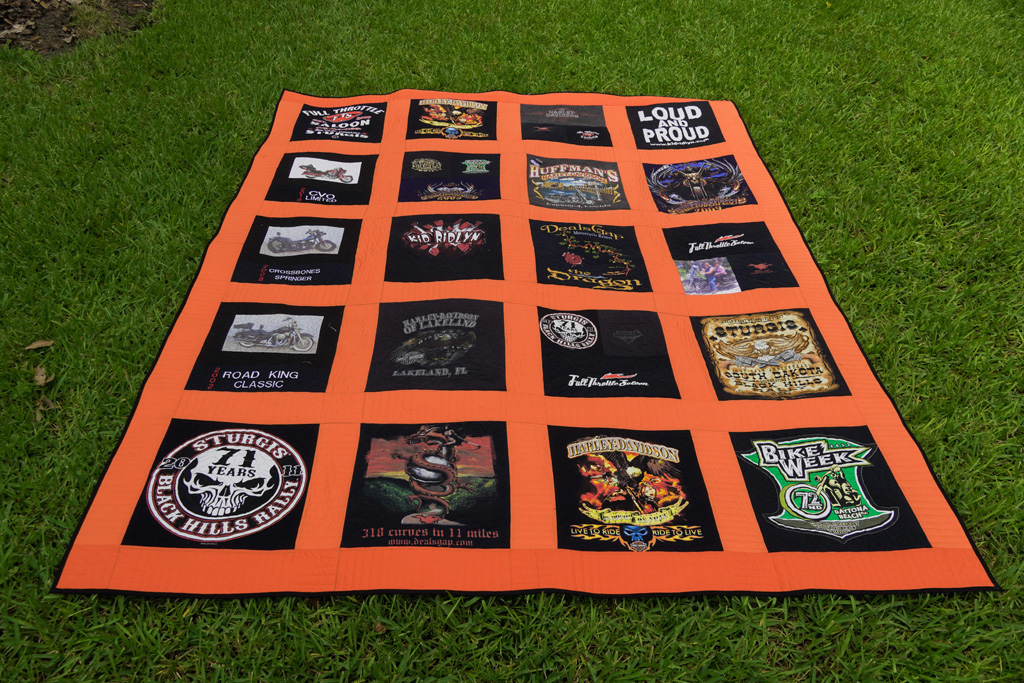
A block style quilt may include a border or sashing around each block.
It may also include pictures printed on fabric and machine embroidered blocks.
The quilt in the photograph is a quilt I made for my husband using the Harley Davidson t-shirts he had collected over many years.
The quilt pictured above illustrates how we incorporated pictures of our motorcycles, including each bike’s models, using machine embroidered blocks under each photograph.
Block Style Quilt Without Borders or Sashing
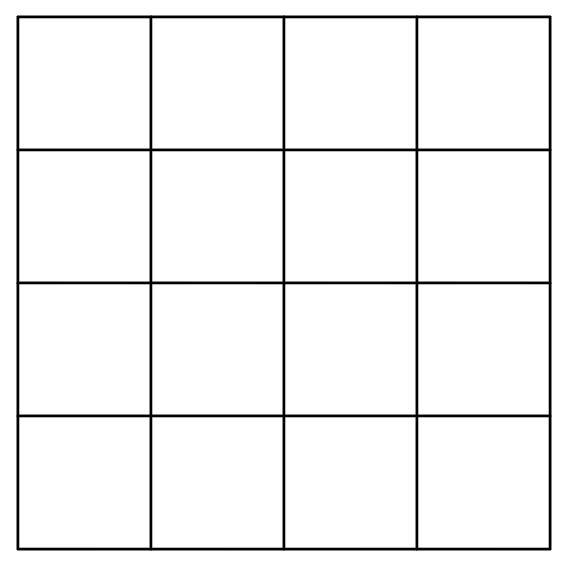
A block style quilt without borders or sashing may be used when the t-shirts have similar-sized logos.
Each block is the same size and is stitched together in rows with no sashing or borders surrounding the blocks.
I find that I don’t use this style often because t-shirts often have various sized logos.
The collage-style quilt allows you to include all logos, regardless of size.
Designing your Quilt
There are several things to consider before beginning the construction of a Memory Quilt or a T-shirt quilt.
I have also included a video demonstrating the steps required to complete a block style quilt with a pieced sashing and border.
Determine Elements to Include
Again, when making a t-shirt quilt or memory quilt, you may incorporate anything that can be sewn and laundered, including:
- T-shirts
- Photographs
- Embroidery
- Miscellaneous clothing
- Baby items
Determine the Size of the Finished Quilt
When deciding the size of the quilt, consider how you will quilt the final project.
If you use a sit-down sewing machine to do free motion quilting, the quilt will be trickier to manage on the machine if it is very large.
If you plan to have the quilt finished by someone with a long arm machine, the finished quilt size will not be a concern because a longarm can manage larger quilts.
These are some popular quilt sizes with the corresponding finished measurements.
- Crib (30 x 40 inches)
- Throw (45 x 65 inches)
- Twin (70 x 90 inches)
- Full (84 x 90 inches)
- Queen (90 x 96 inches)
- King (98 x 106 inches)
Choose Design Style
There are many styles of t-shirt and memory quilts.
We talk about three popular options below.
You are only limited by your imagination.
- Collage
- Block style with sashing
- Block style without sashing


Construction of the Quilt
Deconstruct the Items You Will Include In The Quilt (t-shirts, clothing, baby clothing)
Lay each t-shirt out on the cutting mat.
Using a rotary cutter or a pair of sharp scissors, cut the sleeves off along the seams attaching the sleeve to the shirt.
Cut the shirt along the shoulder seams and down each side of the body of the shirt.
Stabilize the stretchy materials
I like to use lightweight fusible interfacing, P44f by Pellon, because it is lightweight enough to ensure the finished quilt will be soft and light and remove any stretch from the t-shirt fabric.
Iron or heat press the fusible interfacing to the back of each clothing item.
Follow the manufacturer’s instructions for the fusible interfacing you choose for your project.
There is no need to apply interfacing to items that do not have a stretch to them.
Cut items into final sizes
Once the shirts are deconstructed and stabilized, use a ruler and rotary cutter to cut the elements you plan to use in the quilt into the desired size based on your selected design style.
Ensure that you add a quarter inch seam allowance to each side of the blocks when cutting them for the next step in constructing your quilt.
If the finished block should be twelve inches, cut your block twelve and a half inches to allow for the seam allowances when sewing.
Piece the Quilt Together
Use a quarter-inch seam allowance to stitch each piece together to complete your quilt top.
I recommend that you pin each seam carefully before sewing to ensure that you can properly piece the blocks together.
If your sewing machine has a walking foot feature, it may help use the walking foot to piece your quilt.
Pull the pins out when you get close to the pin to ensure you do not stitch over the pins.
Stitching over the pin can cause a broken needle if the needle strikes the pin.
Prepare Backing
Quilt back may be made from cotton fabric or softer fabrics like flannel or fleece.
The back can be pieced using half-inch seam allowances from smaller fabrics.
Another option is to purchase a fabric that is intended for quilt backs.
These fabrics are usually 108 inches in width to allow you to have a back with no piecing or seams.
The backing should be eight inches wider and taller than the quilt front to ensure it is larger than the top when adding quilt stitching.
Although flannel and fleece can be a popular choice for quilt backs, these fabrics can be tricky to work with during the stitching of a quilt design on your domestic sewing machine.
Sandwiching is a term that refers to combining the quilt backing, batting, and quilt top to form the final quilt.
You will need to complete this step if you plan to free-motion stitch the quilt on a sit-down or mid-arm sewing machine.
Sandwiching the quilt top to the backing requires that you lay your back with the right side (the side that will be seen on the back of the quilt) facing the floor.
The backing should be eight inches wider and taller than the quilt front to ensure it is larger than the top when adding quilt stitching.
Lay the batting directly on top of the back centered on the fabric.
Now place the top of the quilt with the right side (the side that will be seen on the top of the quilt) facing up.
Basting Your Quilt Sandwich
There are several ways to secure the sandwich, including using a batting with basting glue included on one side of the batting.
Other methods include using a needle and thread to baste the sandwich with long stitches that you can easily remove the basting once you complete the quilting.
You may also choose to use safety pins approximately 6 inches apart to secure the sandwich. Be careful to remove the pins as you quilt the sandwich on your machine.
If you plan to have a professional add the edge to edge decorative stitching, you can skip the sandwiching step.
A long arm professional will ask that you not baste the top, batting, and backing together.
The quilt top, batting, and backing will be loaded on the long arm separately for computerized edge to edge stitching.
Add Edge to Edge Quilt Stitching to the Quilt
If this is a technique you have not tried, I recommend that you practice before adding the decorative stitching to your project.
There is a shameless plug for my longarm services ahead.
Visit me at PinkHeartQuilting.com for longarm services if you chose to have your quilting stitched with an edge to edge stitching by a professional.
I have a wide selection of edge-to-edge designs to fit the motif of your quilt.
A lot of time goes into finishing a beautiful quilt top, so I take great care to ensure that I complete your quilt top with beautifully stitched quilt designs.
I’m happy to walk you through the selection process.
Choices related to thread color and batting will depend on the finished quilt’s overall expected look and its intended use.
If you want the piecing to be the focal point, you may want to choose a neutral color to add texture without drawing the eye away from the piecing.
Label the Quilt
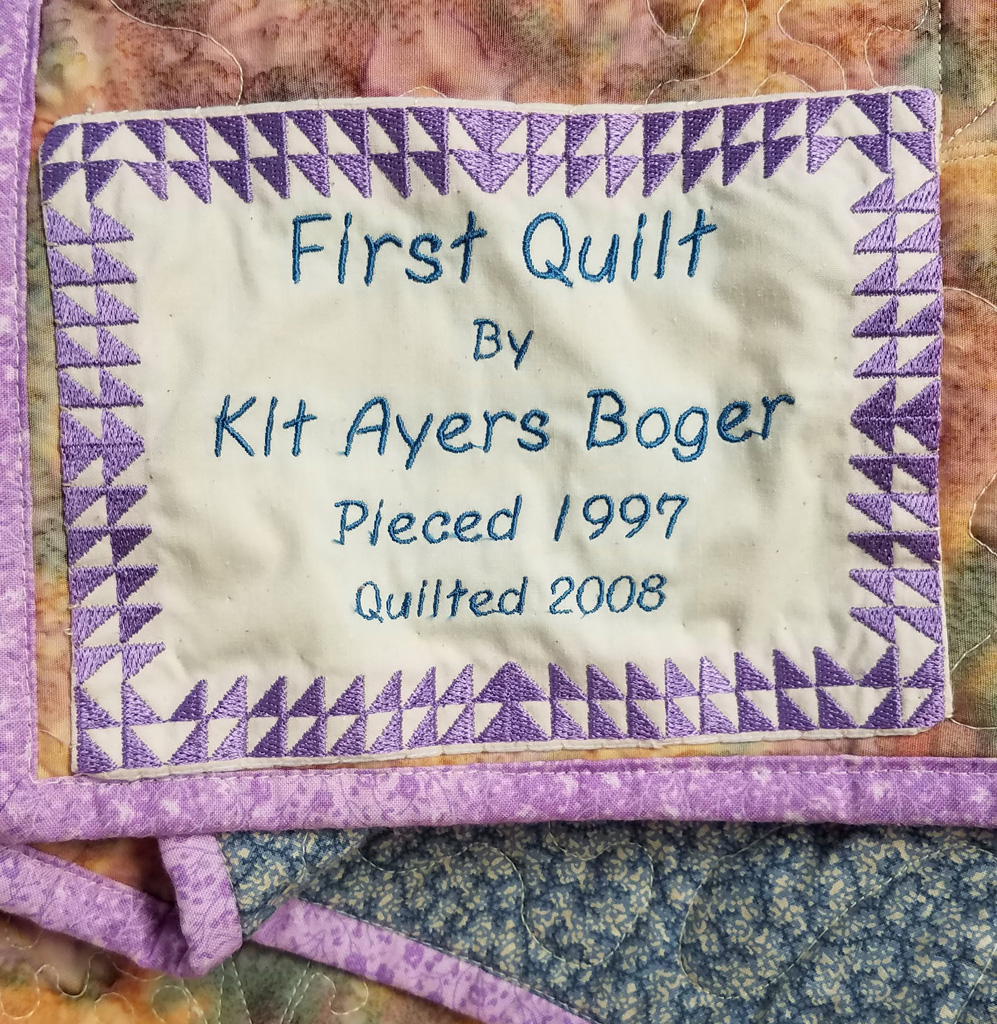
I always stress the need for a label on the back of the quilt. The label documents the maker of the quilt.
- Quilt Made by
- Location and Date
- Made for whom
Bind the Quilt
Binding the quilt is the final step in creating your first t-shirt or memory quilt.
You are in the final stretch of this project! Cut strips of matching fabric two and a half inches wide and join them to make binding the length of the quilt on all four sides plus twenty inches.
Fold the binding in half lengthwise and press.
Stitch the binding around the top’s edges on all four sides before folding the binding to the back and machine or hand stitching the binding to complete the project.
You’ve Completed How to Make a T-Shirt Quilt
Congratulations! You have completed a beautiful and cozy quilt that can be used and laundered as needed.
For More Information
For more information about this topic or general questions about quilting, you can contact Kit at kit@pinkheartquilting.com. She’s always happy to hear from a fellow quilt lover.
Stay Connected with Pink Heart Quilting
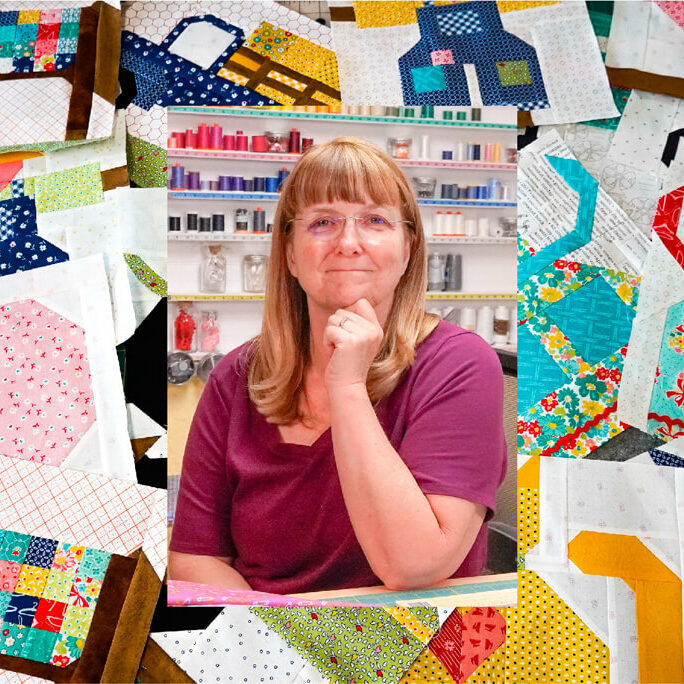
Hi! I'm Kit
A quilting enthusiast, just like you. In my spare time I like to write about things I'd wished were available to me when I was just starting out or couldn't quite figure something out.
Join Our Mailing List
We'll keep in touch every once in a while about quilting related topics and promise to respect your inbox.